
This post contains affiliate links. As an Amazon Associate, we earn from qualifying purchases. This means we may earn a small commission if you purchase through our links, at no extra cost to you.
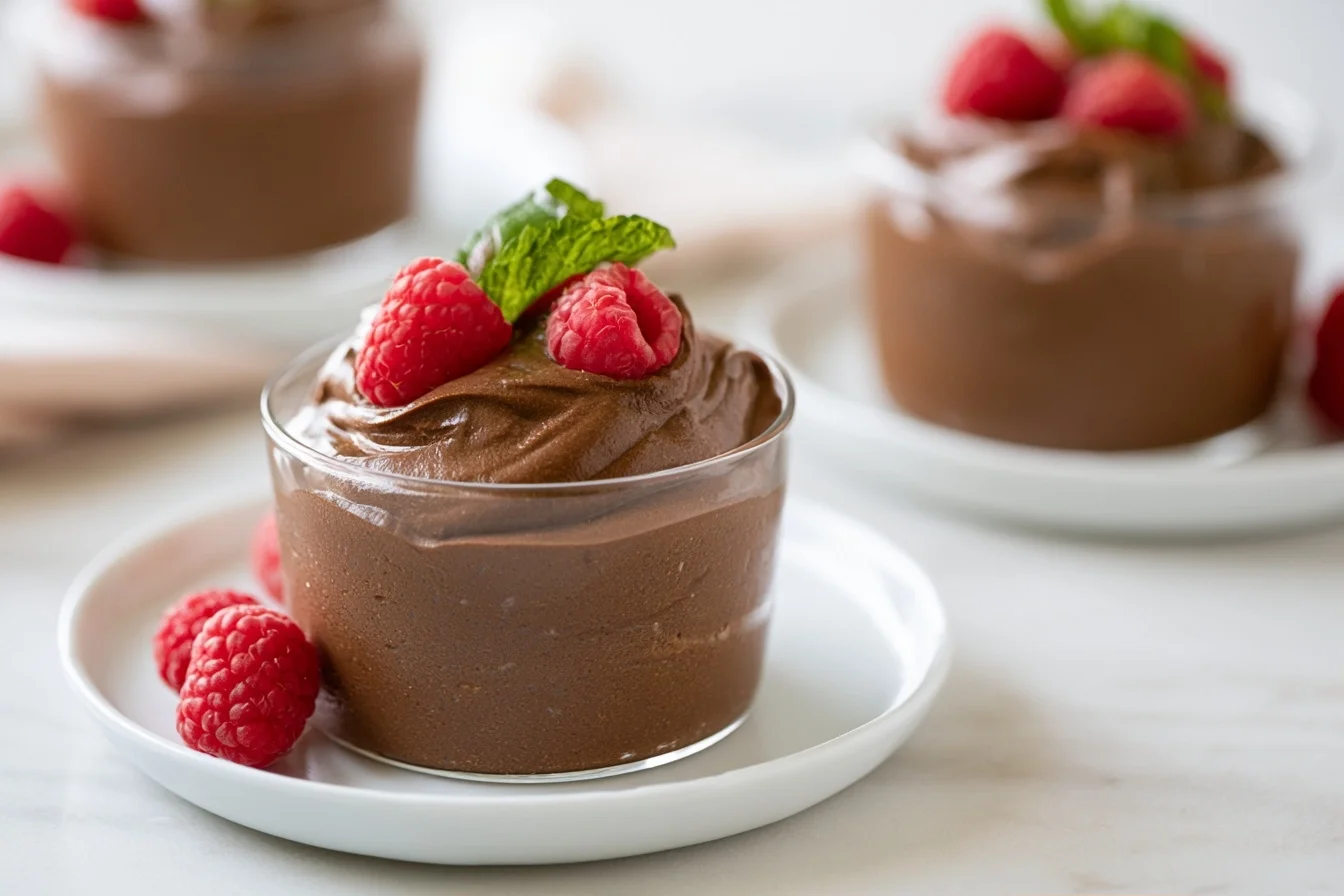
There’s something magical about a dessert that feels fancy but comes together in just minutes. This keto dark chocolate mousse is exactly that kind of recipe. Rich, velvety, and intensely chocolatey, it’s the perfect answer when you’re craving something indulgent without the carbs.
I love serving this mousse when I have guests over because it looks impressive in individual glasses. However, it’s also simple enough to whip up on a random Tuesday night when you need a little something sweet. The best part? You don’t need any fancy equipment or baking skills.
This no-bake dessert comes together with just a handful of ingredients and a few minutes of whisking. Therefore, it’s become one of my most-requested recipes. The dark chocolate flavor is sophisticated and satisfying, making it feel like a restaurant-quality treat you made right at home.
Why You’ll Love This Recipe
- Ready in just 15 minutes plus chilling time
- Only 3g net carbs per serving
- No baking required
- Rich and decadent chocolate flavor
- Perfect for entertaining or meal prep
Your New Favorite Chocolate Dessert
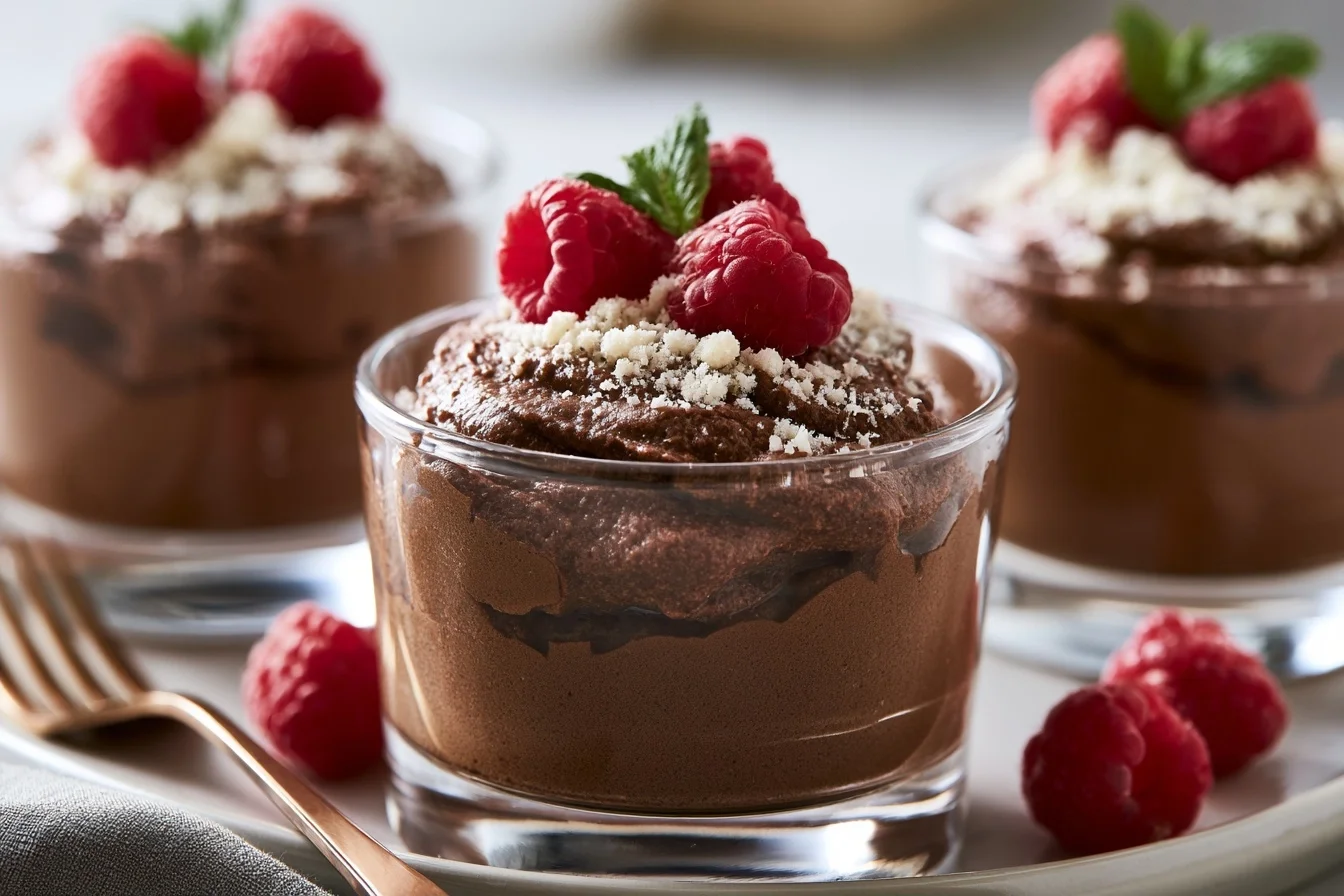
Keto Dark Chocolate Mousse
6
servings15
minutes0
minutes230
kcalThis rich and velvety keto dark chocolate mousse comes together in just 15 minutes with simple ingredients. The intense chocolate flavor and silky texture make it taste like a fancy restaurant dessert, but it’s easy enough for any night of the week.
Ingredients
2 cups heavy whipping cream
4 oz sugar-free dark chocolate
0.5 cup powdered erythritol
3 tablespoons unsweetened cocoa powder
1 teaspoon vanilla extract
0.25 teaspoon sea salt
3 tablespoons hot water
2 tablespoons cream cheese
sugar-free whipped cream
dark chocolate shavings
Directions
- Melt the dark chocolate in a microwave-safe bowl in 30-second intervals, stirring between each, until smooth. Let it cool to room temperature while you prepare the other ingredients.
- Combine the cocoa powder, 1/4 cup powdered erythritol, and sea salt in a medium bowl. Add the hot water and stir until completely smooth with no lumps remaining.
- Mix in the softened cream cheese and vanilla extract to the cocoa mixture, stirring until well combined. Add the cooled melted chocolate and stir until the mixture is silky and uniform.
- Whip the heavy cream in a large bowl using an electric mixer on medium-high speed. When it starts to thicken, gradually add the remaining 1/4 cup powdered erythritol.
- Continue whipping until soft peaks form that gently fold over when you lift the beaters. Be careful not to overwhip or the cream will become grainy.
- Fold one-third of the whipped cream into the chocolate mixture using a rubber spatula. Use gentle folding motions to lighten the chocolate without deflating the cream.
Notes
- Make sure the melted chocolate is cooled to room temperature before folding it into the whipped cream, or it will deflate the mousse.
- Use powdered erythritol rather than granulated for the smoothest texture. Granulated sweetener can leave a gritty texture.
- For the best flavor, choose high-quality sugar-free dark chocolate with at least 85% cacao content.
- The mousse tastes even better after sitting overnight as the flavors meld together beautifully.
Nutrition Facts
- Serving Size: 1 g
- Total number of serves: 6
- Calories: 230kcal
- Fat: 22g
- Carbohydrates: 6g
- Fiber: 3g
- Protein: 3g
Like this recipe?
Follow @easyketodessert on Pinterest
Tips for Perfect Keto Dark Chocolate Mousse
Making mousse might sound intimidating, but I promise it’s easier than you think. In addition to following the recipe, these tips will help you achieve that perfect silky texture every single time. Let me share what I’ve learned from making this dessert dozens of times.
Choose the Right Chocolate
The chocolate you use makes all the difference in this recipe. Look for sugar-free dark chocolate with at least 85% cacao content. This sugar-free dark chocolate melts beautifully and has an intense flavor that works perfectly. The higher the cacao percentage, the richer your mousse will taste.
Temperature Matters
Make sure your heavy cream is cold before you start whipping. Cold cream whips faster and holds its shape better. However, your melted chocolate should be cooled to room temperature before folding it in. If the chocolate is too warm, it will deflate your whipped cream and ruin the airy texture.
Don’t Overwhip the Cream
Stop whipping when you reach soft peaks that gently fold over. Overwhipped cream becomes grainy and buttery. As a result, your mousse won’t have that smooth, luxurious texture. Watch carefully and stop just before you think you should.
Fold Gently
When combining the chocolate mixture with the whipped cream, use a folding motion instead of stirring. This technique preserves the air bubbles you worked so hard to create. Therefore, your mousse stays light and fluffy instead of dense. Use a rubber spatula and turn the bowl as you fold.
Give It Time to Set
Patience is key with this dessert. The mousse needs at least two hours in the refrigerator to firm up properly. For best results, I recommend making it the night before you plan to serve it. The texture becomes even more perfect after several hours of chilling.
Delicious Ways to Customize Your Mousse
One of my favorite things about this recipe is how versatile it is. You can easily adapt it to match your preferences or what you have on hand. Here are some variations I love experimenting with in my own kitchen.
Try Different Sweeteners
While I prefer erythritol for its clean taste, you can swap it for monk fruit sweetener or allulose. My favorite powdered erythritol dissolves instantly and has no aftertaste. Each sweetener has a slightly different sweetness level, so adjust to taste. Start with less and add more if needed.
Add Flavor Extracts
A teaspoon of vanilla extract enhances the chocolate flavor beautifully. However, you can also experiment with peppermint extract for a minty twist or orange extract for a sophisticated flavor combination. Coffee extract deepens the chocolate notes even further. Just add it when you melt the chocolate.
Make It Dairy-Free
You can substitute coconut cream for the heavy cream to make this recipe dairy-free. Use the thick cream from the top of a chilled can of full-fat coconut milk. Whip it the same way you would regular cream. The result is slightly different but still delicious.
Create a Mocha Version
Add two tablespoons of instant espresso powder to the melted chocolate for a mocha mousse. The coffee flavor complements the dark chocolate perfectly. This variation is especially popular with coffee lovers. It adds depth without making the dessert taste like coffee.
Layer It Up
For an elegant presentation, alternate layers of this mousse with keto cheesecake mousse in clear glasses. The contrast looks stunning and tastes amazing. You can also try layering it with classic keto chocolate mousse for a two-tone effect. This technique works beautifully for special occasions.
Understanding the Nutrition
Let’s talk about what makes this dessert so keto-friendly. Each serving contains only 3 grams of net carbs, making it perfect for staying in ketosis. The majority of calories come from healthy fats, which is exactly what you want on a ketogenic diet.
With 22 grams of fat per serving, this mousse keeps you satisfied and helps hit your daily fat goals. The protein content sits at 3 grams, which is modest but appropriate for a dessert. Total calories come in around 230 per serving, which is reasonable for such a rich and indulgent treat.
Dark chocolate brings more than just flavor to this recipe. According to nutrition experts at Harvard, dark chocolate contains beneficial compounds. The high-fat content from heavy cream provides sustained energy without spiking blood sugar.
This dessert fits beautifully into a well-formulated ketogenic eating plan. The macronutrient ratio supports ketosis while satisfying your sweet tooth. Therefore, you can enjoy dessert without guilt or worry about being kicked out of ketosis.
If you’re looking for more keto chocolate desserts, you might also enjoy our moist keto chocolate cake. It pairs wonderfully with this mousse for a complete chocolate experience. Both recipes prove that low-carb eating doesn’t mean sacrificing the desserts you love.
Your Questions Answered
I get lots of questions about making this mousse, so I’ve compiled the most common ones here. These answers will help you troubleshoot any issues and make the perfect batch every time. Let me address what readers ask most frequently.
Can I make this mousse ahead of time?
Yes, this mousse actually tastes better when made ahead. You can prepare it up to 3 days in advance and store it covered in the refrigerator. The texture becomes even more perfect after sitting overnight. Just add any toppings right before serving.
Why did my mousse turn out grainy?
Graininess usually happens when the chocolate is too hot when you fold it into the whipped cream. Make sure to let the melted chocolate cool to room temperature first. Another cause can be overwhipping the cream, which makes it grainy and separated.
Can I freeze chocolate mousse?
While you can freeze this mousse for up to a month, the texture changes slightly when thawed. It becomes more like a frozen dessert or ice cream. If you plan to freeze it, serve it partially frozen for the best texture. Thaw in the refrigerator overnight if you prefer the original mousse consistency.
What can I use instead of heavy cream?
For a dairy-free version, use the thick cream from chilled full-fat coconut milk. You can also try whipping coconut cream. The texture will be slightly different but still delicious. Make sure whatever you use has a high fat content to whip properly.
How do I know when the cream is whipped enough?
Stop whipping when the cream forms soft peaks that gently fold over when you lift the beaters. The peaks should hold their shape but still look glossy and smooth. If you continue past this point, the cream will become stiff and eventually turn into butter.








Leave a Reply