This post contains affiliate links. As an Amazon Associate, we earn from qualifying purchases. This means we may earn a small commission if you purchase through our links, at no extra cost to you.
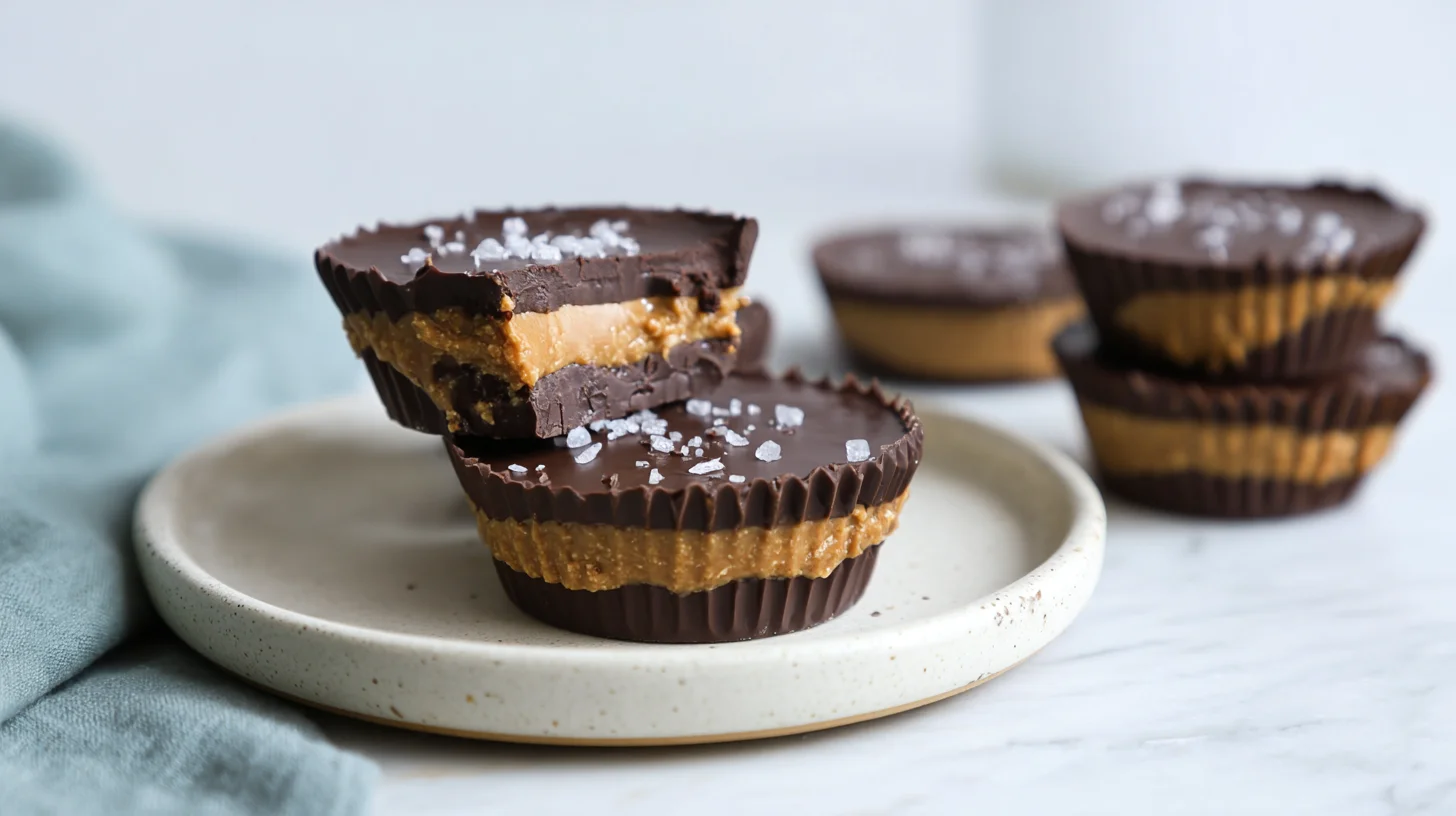
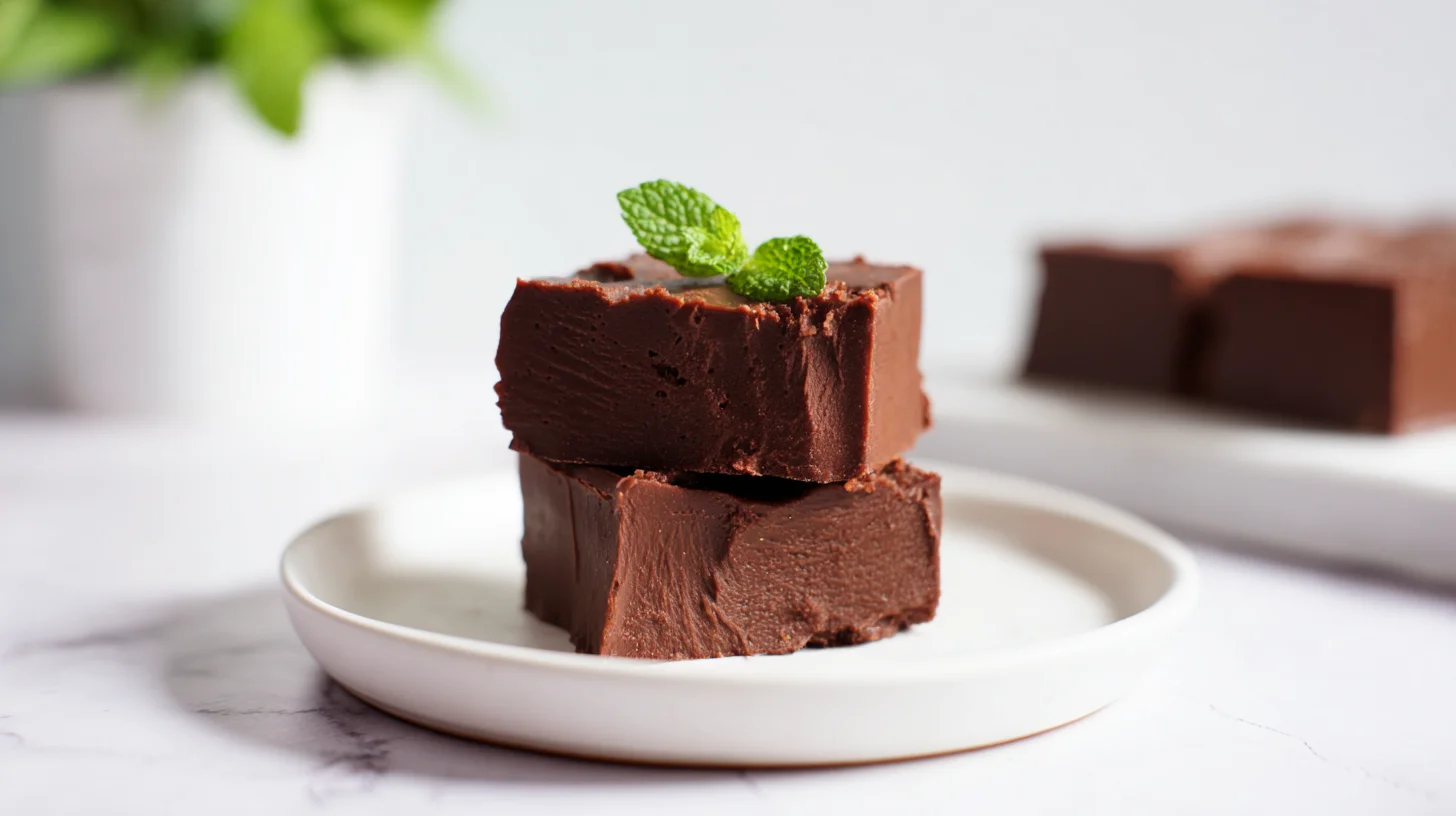
If you’ve been craving the classic combination of chocolate and peanut butter but need to stick to your low-carb lifestyle, these keto peanut butter cups are about to become your new obsession. They taste just like the store-bought version you remember, but without all the sugar and carbs that kick you out of ketosis. In fact, they’re even better because you control exactly what goes into them.
I first made these for a family gathering where half the guests were keto and half weren’t. Honestly, the non-keto folks couldn’t tell the difference and kept coming back for more. That’s when I knew this recipe was a keeper. These homemade treats are perfect for satisfying your sweet tooth after dinner, packing in lunchboxes, or gifting to fellow keto friends during the holidays.
What I love most about this recipe is how simple it is. You don’t need any fancy equipment or hard-to-find ingredients. Just a few basic keto staples, a muffin tin, and about 20 minutes of your time. Then, you’ll have a batch of rich, creamy, perfectly sweet peanut butter cups ready to enjoy whenever a craving hits.

Why You’ll Love This Recipe
- Ready in just 20 minutes plus freezer time
- Only 2g net carbs per serving
- No baking required – perfect for hot summer days
- Uses simple ingredients you probably already have
- Tastes exactly like the classic candy
Your New Favorite Sugar-Free Chocolate Treat
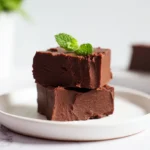
Keto Peanut Butter Cups
12
servings15
minutes0
minutes180
kcalThese homemade keto peanut butter cups taste just like the classic candy but with only 2g net carbs per serving. Rich chocolate layers surround a creamy peanut butter filling sweetened with keto-friendly sweetener for the perfect sugar-free treat.
Ingredients
1.5 cups sugar-free dark chocolate chips
2 tablespoons coconut oil
0.75 cup natural peanut butter
0.25 cup powdered erythritol
2 tablespoons butter
0.5 teaspoon vanilla extract
1 pinch salt
1 tablespoon flaky sea salt
Directions
- Line a standard muffin tin with 12 paper or silicone muffin liners and set aside.
- Melt the chocolate by combining the chocolate chips and 1 tablespoon of coconut oil in a microwave-safe bowl. Heat in 30-second intervals, stirring between each, until completely smooth.
- Create the bottom chocolate layer by spooning about 1 tablespoon of melted chocolate into each muffin liner. Use the back of a spoon to spread it evenly across the bottom. Place the muffin tin in the freezer for 5 minutes to set.
- Make the peanut butter filling by mixing the peanut butter, powdered sweetener, softened butter, vanilla extract, and salt in a medium bowl until smooth and creamy.
- Add the filling by scooping about 1 tablespoon of the peanut butter mixture onto the center of each chocolate layer. Gently press down to flatten slightly, leaving space around the edges.
- Reheat the remaining chocolate if needed by microwaving for 10-15 seconds until pourable. Stir in the remaining tablespoon of coconut oil.
Notes
- Store in an airtight container in the refrigerator for up to 2 weeks or freeze for up to 3 months.
- For best results, use natural peanut butter without added sugars or oils.
- These taste amazing straight from the freezer with a firm, snappy texture.
- Make sure your powdered sweetener is finely ground to avoid a gritty texture in the filling.
- You can substitute almond butter or sunflower seed butter for a different flavor profile.
Nutrition Facts
- Serving Size: 1g
- Total number of serves: 12
- Calories: 180kcal
- Fat: 16g
- Carbohydrates: 4g
- Fiber: 2g
- Protein: 5g
Like this recipe?
Follow @easyketodessert on Pinterest
Tips for Perfect Keto Peanut Butter Cups
Making these sugar-free peanut butter cups is incredibly straightforward, but a few simple tricks will help you achieve that professional-looking finish and perfect texture every single time. Here’s everything I’ve learned from making batch after batch of these delicious treats.
Choose the Right Chocolate
The chocolate layer makes or breaks this recipe. I recommend using sugar-free dark chocolate chips that melt smoothly and taste rich. Lily’s brand works beautifully, as does ChocZero. Make sure to add a bit of coconut oil to the melted chocolate to help it set with that signature snap.
Get the Peanut Butter Consistency Right
Natural peanut butter works best for this recipe because it doesn’t contain added sugars or hydrogenated oils. However, if your peanut butter is too runny, the filling might seep into the chocolate layer. Therefore, I recommend using a brand that’s thick and creamy. If your peanut butter is oily, stir it well before measuring and consider draining off some of the excess oil.
Use the Right Sweetener
Powdered sweetener is essential for smooth, lump-free filling. I prefer powdered erythritol or monk fruit blend because they dissolve easily and don’t leave a gritty texture. Granulated sweeteners won’t incorporate as smoothly into the peanut butter mixture. As a result, your filling might feel grainy instead of silky.
Layer Like a Pro
First, add your chocolate layer to the muffin cups and let it set slightly in the freezer for about 5 minutes. Then, add the peanut butter filling in the center, leaving space around the edges. Finally, top with more melted chocolate to seal everything in. This method ensures clean layers and prevents the filling from mixing with the chocolate.
Storage Matters
These homemade peanut butter cups need to stay cold. Store them in an airtight container in the refrigerator for up to two weeks, or freeze them for up to three months. I actually prefer eating them straight from the freezer because they have that perfect firm texture. Just let them sit at room temperature for a minute or two if you want a softer bite.
Fun Ways to Customize Your Recipe
One of the best things about making your own low-carb candy at home is that you can customize it to match your preferences perfectly. Here are some of my favorite variations that keep the carb count low while adding exciting new flavors and textures.
Try Different Nut Butters
While peanut butter is classic, you can easily swap it for almond butter, cashew butter, or sunflower seed butter if you have allergies. Each nut butter brings its own unique flavor profile. Almond butter creates a milder, slightly sweet taste, while sunflower seed butter offers a nut-free option that’s perfect for school lunches. Just make sure whatever butter you choose is unsweetened and doesn’t contain added oils or sugars.
Add Some Crunch
Mix chopped pecans, almonds, or sugar-free chocolate chips into your peanut butter filling for added texture. The crunch factor makes each bite more interesting and satisfying. You can also sprinkle flaky sea salt on top of the final chocolate layer before it sets. The sweet and salty combination is absolutely divine and reminds me of those fancy artisan chocolates.
Make Them Dairy-Free
For a dairy-free version, simply use dairy-free chocolate chips and ensure your peanut butter doesn’t contain any milk products. Most natural peanut butters are already dairy-free, but always check the label. The texture and taste remain just as delicious, making these treats suitable for those with lactose intolerance or following a paleo-keto approach.
Create Different Flavor Profiles
Add a quarter teaspoon of vanilla extract to your peanut butter mixture for extra depth. Or try mixing in a tablespoon of unsweetened cocoa powder to create chocolate peanut butter cups. For a fun twist, add a tiny pinch of cinnamon or espresso powder to the chocolate layer. These small additions create completely new taste experiences without adding carbs. If you enjoy experimenting with flavors, you might also love these keto peanut butter cookies that use similar ingredients.
Mini or Regular Size
While this recipe uses regular muffin tins, you can absolutely make mini versions using a mini muffin pan. Mini cups are perfect for portion control and make adorable party treats. They’ll need less time in the freezer to set, usually about 10 minutes instead of 15. Alternatively, make them extra large in jumbo muffin cups for an indulgent dessert that serves as a complete treat.
Understanding the Nutrition
Each of these homemade treats contains approximately 180 calories, making them a satisfying dessert that won’t derail your daily macros. The fat content sits at around 16 grams per serving, which is perfect for a ketogenic diet where healthy fats are your primary fuel source. Most of this fat comes from the peanut butter and chocolate, both of which contain heart-healthy monounsaturated fats.
Protein comes in at about 5 grams per cup, which is a nice bonus for a dessert. Peanuts provide plant-based protein along with essential nutrients like vitamin E and magnesium. The total carbohydrate count is 4 grams, but with 2 grams of fiber, you’re left with just 2 grams of net carbs per serving. This makes these peanut butter cups an excellent choice when you need something sweet but want to stay in ketosis.
The sugar content is minimal at less than 1 gram per serving, coming naturally from the peanut butter rather than added sugars. This is drastically different from conventional peanut butter cups that can contain 10-15 grams of sugar each. By using sugar-free chocolate and a keto-friendly sweetener, you get all the taste without the blood sugar spike. These treats fit beautifully into a ketogenic meal plan alongside other favorites like keto chocolate chip cookies or rich cheesecake brownies.
One important note about the nutrition information: these values are calculated based on using quality sugar-free chocolate and natural peanut butter. If you substitute different brands or types of ingredients, the macros might vary slightly. Always check your specific product labels if you need precise tracking. Additionally, the serving size is one peanut butter cup, so if you make them smaller or larger, adjust your portions accordingly.
Your Questions Answered
Over the years of sharing this recipe with readers, I’ve received quite a few questions about making these delicious sugar-free treats. Here are the most common questions along with detailed answers to help you achieve perfect results every single time you make them.
Can I use regular peanut butter instead of natural?
While natural peanut butter works best, you can use regular peanut butter in a pinch. However, check the label carefully for added sugars and hydrogenated oils. These ingredients will increase the carb count and may affect the texture. If you use regular peanut butter, reduce the amount of sweetener slightly since it already contains sugar.
Why did my chocolate layer crack?
Chocolate can crack if it sets too quickly or if there’s a temperature difference between layers. To prevent this, let each layer come to room temperature slightly before adding the next. Also, make sure to add enough coconut oil to the chocolate, which keeps it more flexible. Finally, avoid moving the cups around too much while they’re setting in the freezer.
Can I make these ahead of time?
Absolutely! These keto peanut butter cups are perfect for meal prep. Make a big batch and store them in an airtight container in the refrigerator for up to two weeks. For longer storage, freeze them for up to three months. Just separate layers with parchment paper to prevent sticking. They taste amazing straight from the freezer.
What if my peanut butter filling is too thick?
If your peanut butter mixture is too thick to spread easily, add a tiny bit of melted coconut oil or softened butter, one teaspoon at a time. Mix well after each addition until you reach a spreadable consistency. The filling should be thick enough to hold its shape but soft enough to spread without tearing the chocolate layer underneath.
Do I need to use muffin liners?
Yes, muffin liners make removing the peanut butter cups much easier and prevent them from sticking. Silicone liners work great and are reusable. Paper liners work fine too, though the cups might stick slightly to paper. Avoid trying to make these directly in the muffin tin without liners, as they’ll be nearly impossible to remove without breaking.
Are these safe to eat if I’m pregnant?
These peanut butter cups don’t contain raw eggs, so they’re generally safe during pregnancy. However, always consult your healthcare provider about dietary choices during pregnancy. If you’re concerned about any ingredients, you can check resources like FDA food safety guidelines for more information about safe food handling.
Leave a Reply