
This post contains affiliate links. As an Amazon Associate, we earn from qualifying purchases. This means we may earn a small commission if you purchase through our links, at no extra cost to you.
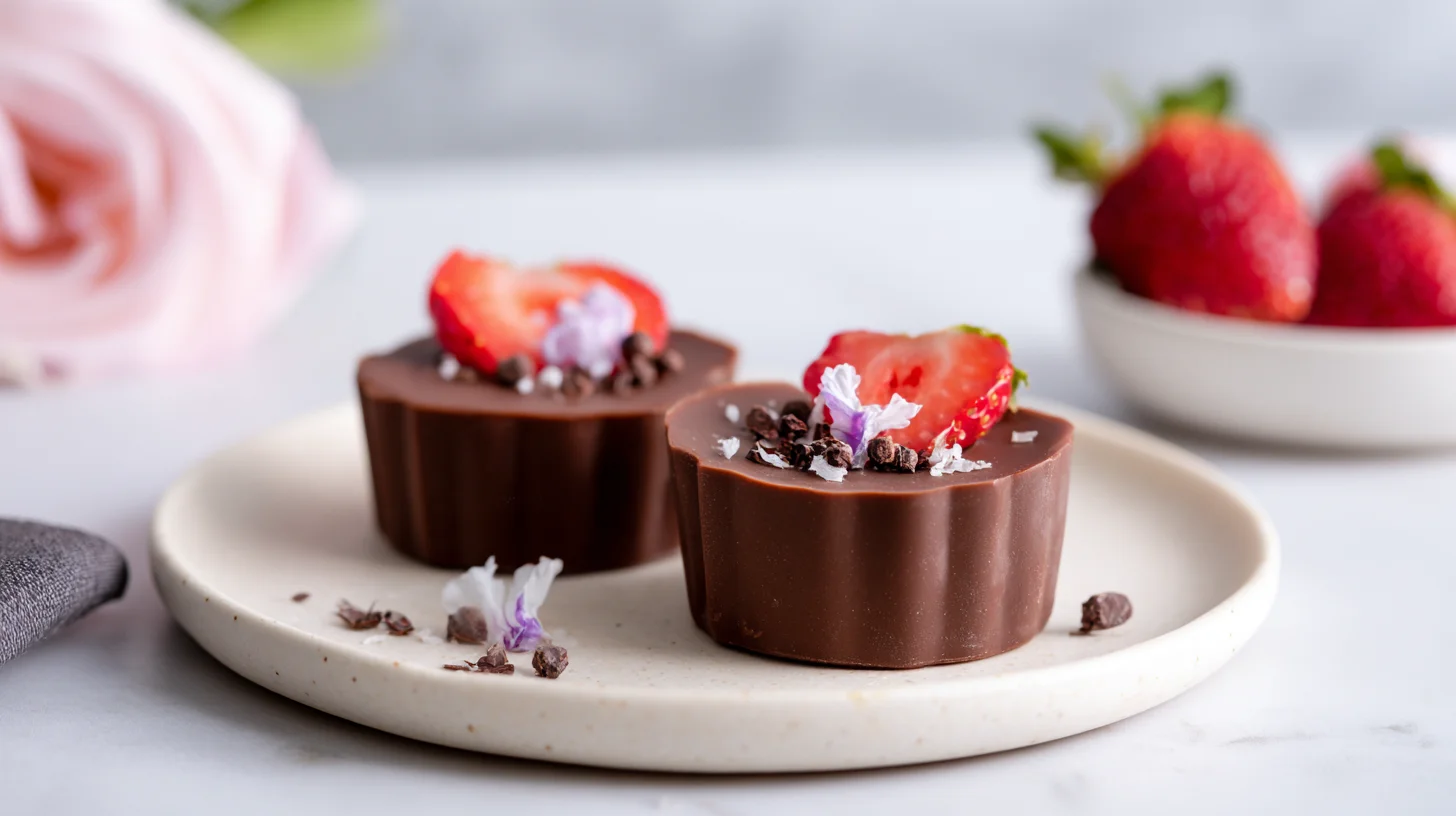
If you’re craving something sweet but don’t want to derail your low-carb lifestyle, this keto candy is about to become your new obsession. It’s rich, creamy, and satisfies that chocolate craving without any of the guilt. Plus, you can whip up a batch in under 20 minutes with just a handful of simple ingredients.
I remember the first time I made sugar-free chocolate treats at home. I was skeptical that anything could compete with store-bought candy bars. However, after one bite of these homemade chocolate fat bombs, I was completely sold. They’re smooth, melt-in-your-mouth delicious, and perfectly portioned for when you need a quick sweet fix.
Whether you’re meal prepping for the week or need a last-minute dessert for guests, this recipe delivers every single time. It’s beginner-friendly, requires no fancy equipment, and stores beautifully in the fridge or freezer. Therefore, you’ll always have a low-carb treat ready whenever cravings strike.
Why You’ll Love This Recipe
- Ready in just 15 minutes
- Only 2g net carbs per piece
- No baking required
- Perfect for meal prep and freezer storage
- Tastes just like your favorite chocolate bar
Your Go-To Sugar-Free Chocolate Recipe
Keto Candy
20
servings10
minutes5
minutes95
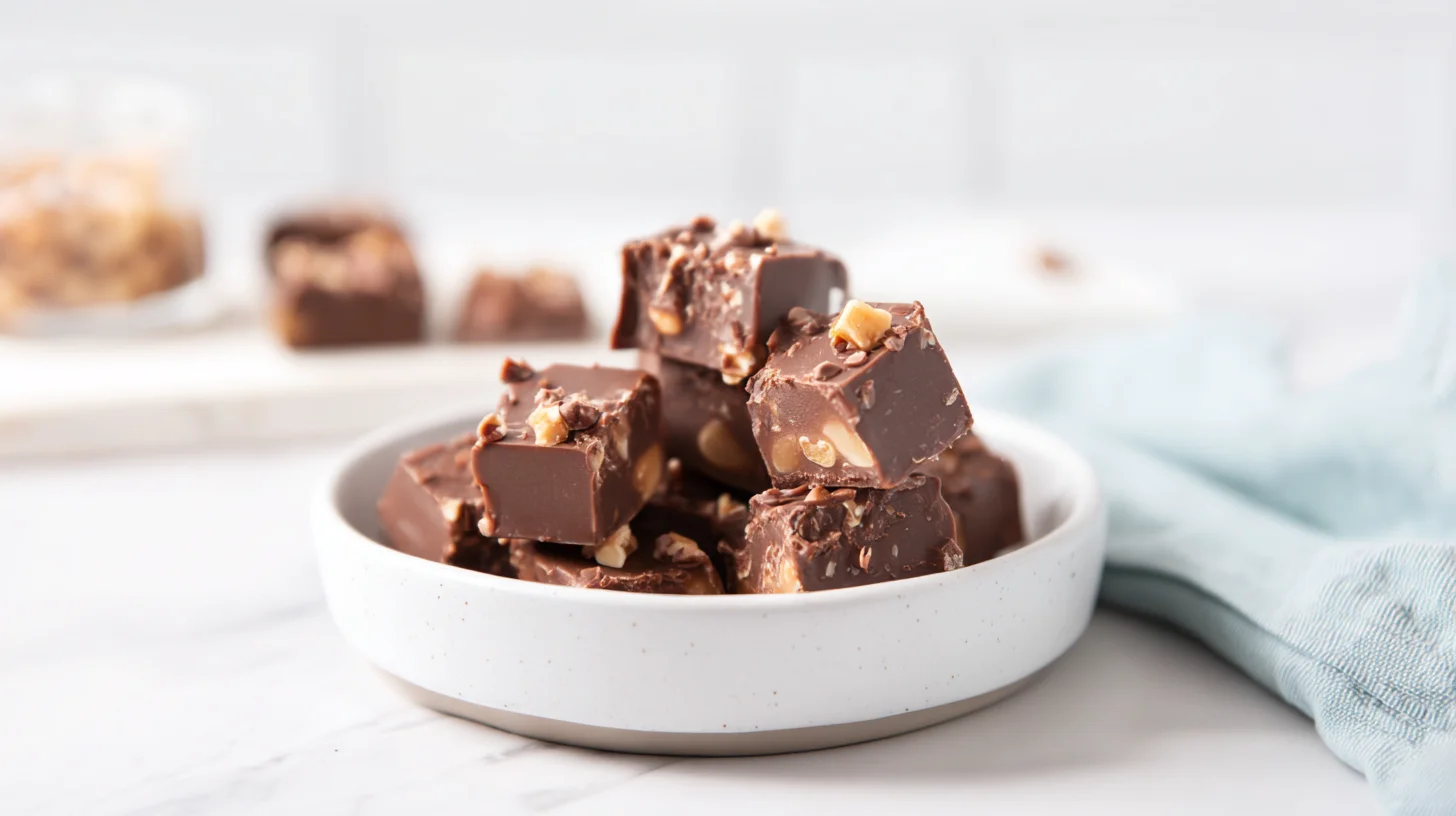
kcalThese homemade keto candy pieces are rich, chocolatey, and incredibly satisfying. They’re perfect for meal prep and contain just 2g net carbs per serving. No baking required!
Ingredients
2 cups sugar-free dark chocolate chips
0.25 cup heavy cream
2 tablespoons powdered erythritol
1 teaspoon vanilla extract
0.25 teaspoon sea salt
2 tablespoons coconut oil
0.25 cup chopped almonds
2 tablespoons unsweetened shredded coconut
1 pinch flaky sea salt
Directions
- Prepare your molds by lining a baking sheet with parchment paper or setting out silicone candy molds on a flat surface.
- Combine chocolate and coconut oil in a microwave-safe bowl and heat in 20-second intervals, stirring between each, until completely melted and smooth.
- Add the heavy cream, powdered erythritol, vanilla extract, and sea salt to the melted chocolate and stir until well combined and glossy.
- Fold in optional mix-ins like chopped almonds or shredded coconut if using, stirring gently to distribute evenly.
- Pour the chocolate mixture into your prepared molds or onto the parchment-lined baking sheet, spreading to about 1/4-inch thickness.
- Sprinkle flaky sea salt on top if desired for extra flavor.
Notes
- Use high-quality sugar-free chocolate for best results. Check labels to ensure no hidden sugars.
- If chocolate seizes, add an extra teaspoon of coconut oil and stir vigorously to bring it back together.
- Store in the refrigerator for up to 2 weeks or freeze for up to 3 months between layers of parchment paper.
- Let frozen candy sit at room temperature for 5 minutes before enjoying for best texture.
- Customize with your favorite keto-friendly mix-ins like pecans, macadamia nuts, or sugar-free peanut butter.
Nutrition Facts
- Serving Size: 1 g
- Total number of serves: 20
- Calories: 95kcal
- Fat: 9g
- Carbohydrates: 4g
- Fiber: 2g
- Protein: 2g
Like this recipe?
Follow @easyketodessert on Pinterest
Tips for Making Perfect Keto Candy Every Time
Making homemade chocolate treats might seem intimidating at first, but these simple tips will ensure your keto candy turns out perfectly every single time. First, let’s talk about ingredient quality and technique. Then, we’ll cover storage and troubleshooting common issues.
Choose High-Quality Chocolate
The chocolate you use makes all the difference in taste and texture. I recommend using sugar-free dark chocolate chips with at least 85% cacao content. They melt smoothly and provide that rich chocolate flavor we all crave. Avoid chocolate with added sugars or fillers, as they can affect the final carb count and texture.
Melt Chocolate Gently
Never rush the melting process. Use a double boiler or microwave in 20-second intervals, stirring between each burst. Overheating chocolate causes it to seize and become grainy. Therefore, patience is key to achieving that silky smooth consistency.
Use Silicone Molds
Silicone candy molds make removing your finished treats incredibly easy. They’re flexible, non-stick, and come in fun shapes. In addition, they’re dishwasher safe and reusable. If you don’t have molds, a parchment-lined baking sheet works just fine.
Add Mix-Ins Carefully
If you’re adding nuts, sea salt, or other mix-ins, fold them in gently after the chocolate has cooled slightly. This prevents them from sinking to the bottom. For example, chopped almonds or pecans add wonderful texture and healthy fats.
Store Properly
These chocolate treats store best in an airtight container in the refrigerator for up to two weeks. However, they also freeze beautifully for up to three months. Just layer them between parchment paper to prevent sticking. As a result, you’ll always have a quick dessert on hand.
Delicious Ways to Customize Your Chocolate Treats
One of the best things about this recipe is how versatile it is. You can easily customize it to match your taste preferences or dietary needs. Therefore, let’s explore some creative variations that will keep your dessert rotation exciting.
Peanut Butter Swirl
Add a tablespoon of natural peanut butter to half of your melted chocolate and swirl it through the molds. This creates a delicious peanut butter cup effect. If you love peanut butter desserts, you’ll also enjoy our sugar-free peanut butter cookies. According to nutrition research, peanuts provide healthy fats and protein.
Mint Chocolate
Add a few drops of peppermint extract to your melted chocolate for a refreshing twist. Start with just 2-3 drops, as peppermint extract is quite potent. This variation tastes like those classic chocolate mint patties we all remember.
Almond Joy Style
Mix in unsweetened shredded coconut and chopped almonds for a candy bar inspired treat. The combination of chocolate, coconut, and nuts creates amazing texture and flavor. In addition, coconut adds healthy medium-chain triglycerides.
Sea Salt Dark Chocolate
Sprinkle flaky sea salt on top of your chocolate before it sets. The salt enhances the chocolate flavor and adds a gourmet touch. This simple addition makes your homemade treats taste bakery-quality.
Cookie Dough Filled
Create a two-layer candy by filling the bottom of your molds with chocolate, adding a small amount of edible cookie dough, then topping with more chocolate. This creates a delicious surprise center. However, make sure your cookie dough is firm enough to hold its shape.
Dairy-Free Option
Use dairy-free dark chocolate and coconut cream instead of heavy cream if you’re avoiding dairy. The texture remains just as creamy and delicious. Therefore, everyone can enjoy these treats regardless of dietary restrictions.
Understanding the Nutrition in Your Homemade Treats
Each piece of this keto candy contains approximately 95 calories with 9g of fat, 2g of protein, and just 2g net carbs. The high fat content comes from the chocolate and any added nuts or coconut. These healthy fats help keep you satisfied and in ketosis.
The beauty of making your own sugar-free chocolate is complete control over ingredients. Store-bought options often contain hidden sugars, maltitol, or other ingredients that can spike blood sugar. However, this homemade version uses only keto-friendly sweeteners that won’t affect your blood glucose levels.
The fiber content helps reduce the total carb count, resulting in minimal net carbs per serving. In addition, dark chocolate provides antioxidants and minerals like magnesium. When you compare these to traditional candy bars with 20-30g of sugar each, the difference is remarkable.
If you’re looking for more low-carb dessert options with similar nutrition profiles, try our cheesecake brownies. They’re equally satisfying and fit perfectly into your macros. As a result, you can enjoy dessert without compromising your progress.
Remember that portion control still matters, even with keto-friendly treats. One or two pieces make a perfect after-dinner dessert or afternoon snack. Therefore, pre-portion your candies into serving sizes to avoid overindulging. According to food safety guidelines, always store chocolate treats properly to maintain freshness and quality.
Your Questions About Sugar-Free Chocolate Answered
Making homemade chocolate treats often brings up questions, especially if you’re new to keto baking. Here are the most common questions readers ask about this recipe, along with helpful answers to ensure your success.
Can I use milk chocolate instead of dark chocolate?
While you can use milk chocolate, most milk chocolate contains added sugar and won’t be keto-friendly. Look for sugar-free milk chocolate chips specifically labeled as keto or low-carb. Dark chocolate with at least 85% cacao is your best option for keeping carbs low.
How long does keto candy last?
Store your homemade keto candy in an airtight container in the refrigerator for up to two weeks. For longer storage, freeze them for up to three months. Layer pieces between parchment paper to prevent sticking. Let frozen candy sit at room temperature for 5 minutes before eating.
Why did my chocolate seize up?
Chocolate seizes when it comes into contact with water or gets overheated. Make sure all your utensils are completely dry. Melt chocolate slowly using a double boiler or microwave in short 20-second intervals. If chocolate does seize, try adding a teaspoon of coconut oil to smooth it out.
Can I make this dairy-free?
Yes, simply use dairy-free dark chocolate chips and replace any cream with full-fat coconut cream. The texture and flavor remain delicious. Make sure your dairy-free chocolate is also sugar-free to keep the recipe keto-friendly.
What sweetener works best for keto candy?
Erythritol and monk fruit sweetener work best because they don’t affect blood sugar and have minimal aftertaste. Avoid maltitol, as it can cause digestive issues and does impact blood glucose. Stevia is another option, but use it sparingly as it can be very sweet.
Do I need special molds?
No, silicone candy molds make removal easier, but they’re not required. You can pour the chocolate onto a parchment-lined baking sheet and break it into pieces once set. Mini muffin tins lined with paper cups also work perfectly.






Leave a Reply