
This post contains affiliate links. As an Amazon Associate, we earn from qualifying purchases. This means we may earn a small commission if you purchase through our links, at no extra cost to you.
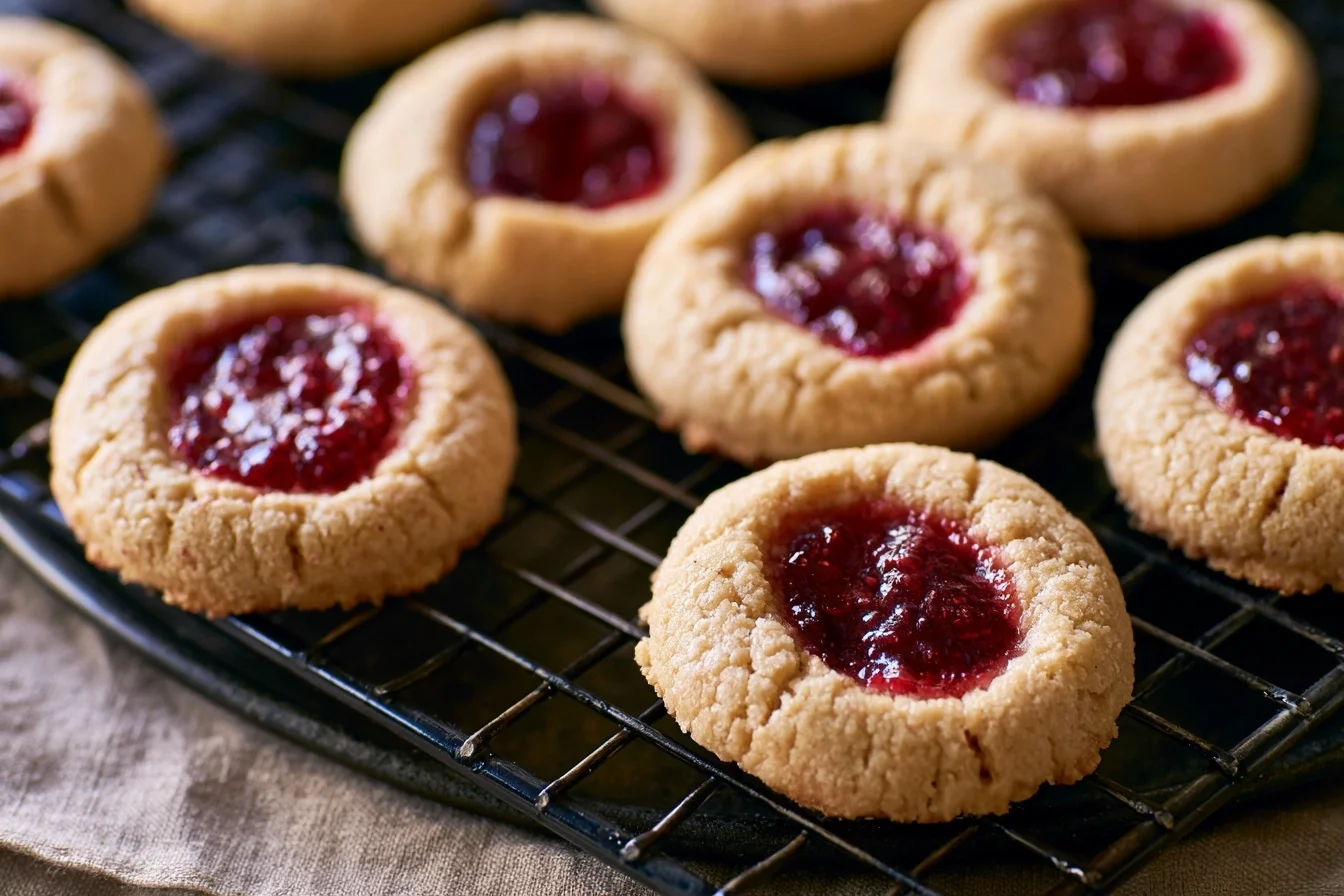
There’s something magical about keto thumbprint cookies during the holidays. These buttery, melt-in-your-mouth treats bring back memories of baking with my grandmother, except now they’re completely sugar-free and low-carb. The best part? They look absolutely stunning on any dessert table, making them perfect for holiday parties, cookie exchanges, or gift boxes.
These cookies feature a tender almond flour base with a jewel-toned center that’s bursting with flavor. Whether you fill them with sugar-free jam, chocolate ganache, or lemon curd, each bite delivers that perfect combination of buttery richness and sweet filling. They’re surprisingly simple to make, even if you’re new to keto baking.
I love making these during Christmas, but honestly, they’re wonderful year-round. They freeze beautifully, so you can always have a batch ready for unexpected guests or when that sweet craving hits. Plus, they’re naturally gluten-free, which means everyone at your gathering can enjoy them.
Why You’ll Love This Recipe
- Ready in just 25 minutes from start to finish
- Only 2g net carbs per cookie
- Naturally gluten-free with almond flour base
- Endless filling options to customize
- Perfect for holiday cookie platters
Your New Favorite Holiday Cookie
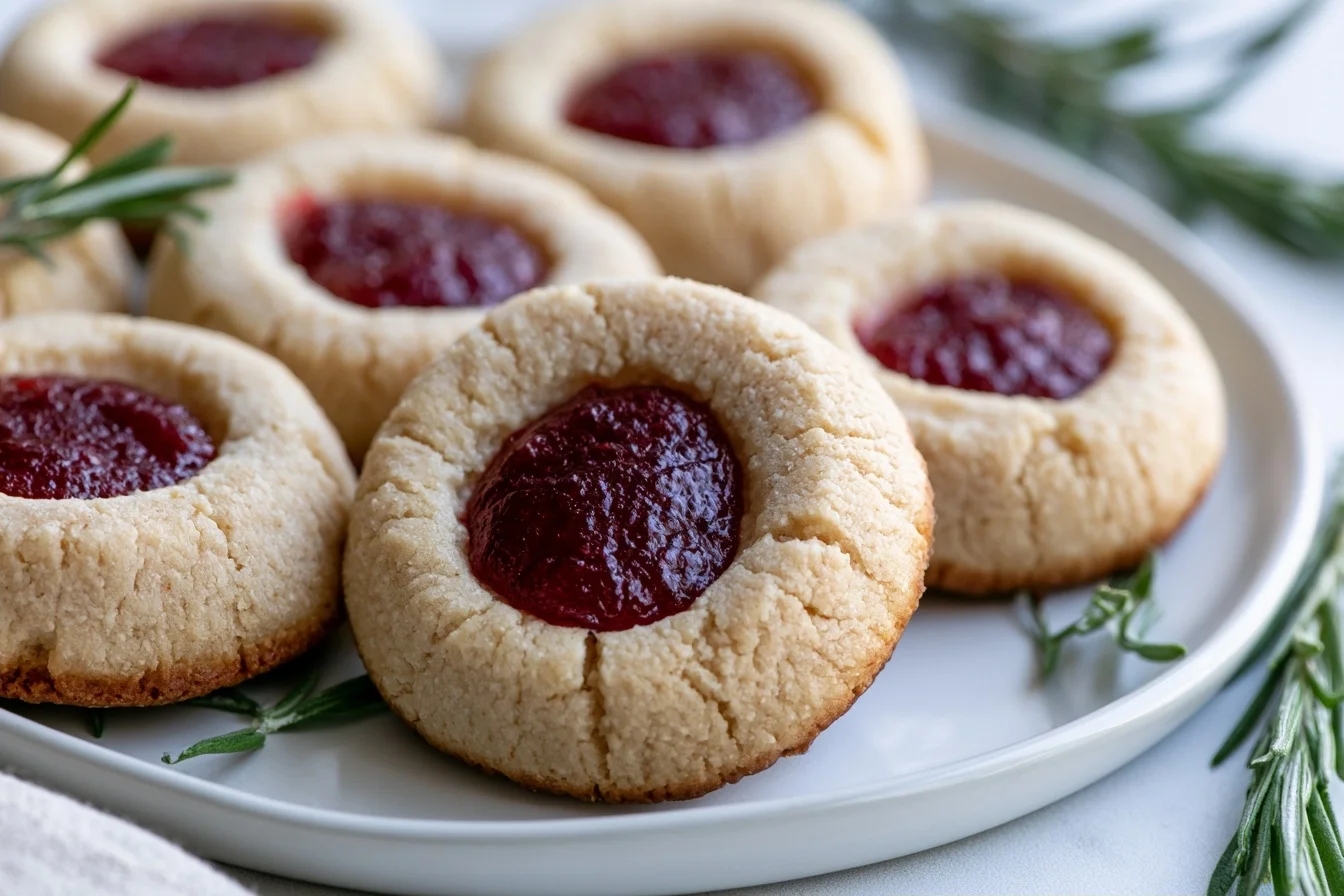
Keto Thumbprint Cookies
20
servings15
minutes13
minutes95
kcalThese buttery keto thumbprint cookies feature a tender almond flour base with a jewel-toned sugar-free filling. Perfect for holiday cookie platters, they’re gluten-free, low-carb, and melt-in-your-mouth delicious.
Ingredients
2 cups almond flour
0.5 cup butter
0.33 cup powdered erythritol
1 large egg
1 teaspoon vanilla extract
0.25 teaspoon salt
0.25 teaspoon baking powder
0.25 cup sugar-free jam
1 tablespoon heavy cream
Directions
- Preheat your oven to 350°F and line two baking sheets with parchment paper.
- Beat the butter and sweetener together in a large bowl until light and fluffy, about 2 minutes.
- Add the egg and vanilla to the butter mixture and beat until well combined.
- Mix the dry ingredients in a separate bowl: almond flour, salt, and baking powder.
- Combine the wet and dry ingredients and stir until a dough forms. If too crumbly, add heavy cream one teaspoon at a time.
- Roll the dough into 20 balls, about 1 tablespoon each, and place them on the prepared baking sheets 2 inches apart.
Notes
- Store in an airtight container at room temperature for up to 5 days or refrigerate for up to 2 weeks.
- The cookies can be frozen without filling for up to 3 months. Thaw and add filling before serving.
- Don’t overfill the wells or the jam will bubble over during baking.
- For best results, use finely ground blanched almond flour, not almond meal.
Nutrition Facts
- Serving Size: 1 g
- Total number of serves: 20
- Calories: 95kcal
- Fat: 9g
- Carbohydrates: 3g
- Fiber: 1g
- Protein: 2g
Like this recipe?
Follow @easyketodessert on Pinterest
Expert Tips for Perfect Keto Thumbprint Cookies
Making these cookies is straightforward, but a few key techniques will ensure they turn out perfectly every time. First, let’s talk about getting that ideal texture and preventing common baking mishaps. Then, we’ll cover how to create those beautiful indentations without cracking.
Getting the Dough Consistency Right
The dough should feel slightly crumbly but hold together when pressed. If it’s too dry, add a teaspoon of heavy cream at a time until it comes together. Conversely, if it’s too sticky, refrigerate for 15 minutes. This makes rolling the balls much easier and prevents spreading during baking.
Creating the Perfect Thumbprint
Use your thumb or the back of a small spoon to create the indentation. Press gently but firmly, going about halfway through the cookie. If cracks form around the edges, simply smooth them with your finger. For uniform results, consider using a small measuring spoon to create consistent wells.
Preventing Cookies from Spreading
Almond flour cookies tend to spread less than traditional ones, but chilling the dough balls for 10 minutes before baking helps them maintain their shape. Additionally, make sure your butter is softened but not melted. Room temperature butter incorporates better and creates a sturdier structure.
Timing the Filling Addition
Always add the filling after the initial baking period. If you add it before baking, it can bubble over and burn. The cookies bake for about 10 minutes first, then you add the filling and bake for another 2-3 minutes. This ensures both the cookie and filling set properly.
Creative Variations to Try
The beauty of thumbprint cookies lies in their versatility. You can customize them to match any occasion or flavor preference. Therefore, I’m sharing my favorite variations that have been hits at various gatherings. Each one brings something unique to the table.
Different Filling Options
While sugar-free raspberry jam is classic, don’t limit yourself. Try sugar-free strawberry preserves, blueberry jam, or apricot spread for fruity variations. For chocolate lovers, fill them with sugar-free chocolate ganache or melted dark chocolate chips. Lemon curd creates a bright, tangy option that’s perfect for spring celebrations.
Flavor the Cookie Base
Add a teaspoon of vanilla extract or almond extract to the dough for extra depth. For holiday versions, try adding a quarter teaspoon of cinnamon or pumpkin pie spice. Lemon zest brightens the flavor beautifully, especially when paired with berry fillings. These simple additions transform the cookies without adding carbs.
Nut-Free Alternative
If you need a nut-free option, substitute the almond flour with sunflower seed flour in equal amounts. The flavor will be slightly different but still delicious. Keep in mind that sunflower seed flour can sometimes turn baked goods slightly green due to a reaction with baking powder, but this doesn’t affect taste.
Dairy-Free Version
Replace the butter with coconut oil or vegan butter for a dairy-free version. Use refined coconut oil if you don’t want a coconut flavor. The texture will be slightly different but still wonderfully tender. Make sure your filling is also dairy-free if needed.
Coating Options
Before baking, roll the dough balls in finely chopped pecans, walnuts, or unsweetened shredded coconut. This adds texture and makes them even more impressive. The coating toasts beautifully during baking, creating a delightful crunch. It’s a technique I learned from making traditional buttery keto cookies.
Understanding the Nutrition
Each cookie contains approximately 95 calories, making them a reasonable treat when following a ketogenic eating plan. The majority of calories come from healthy fats, primarily from almond flour and butter. This macronutrient profile helps keep you satisfied without spiking blood sugar.
With only 2g net carbs per cookie, you can enjoy two or three without derailing your daily carb limit. The total carbs are 3g, with 1g coming from fiber, which is subtracted to calculate net carbs. This makes them significantly lower in carbs than traditional thumbprint cookies that can contain 15-20g net carbs each.
Each cookie provides 2g of protein and 9g of fat, creating that ideal keto ratio. The fat content comes primarily from almond flour, which also provides vitamin E and magnesium. Using quality powdered sweetener ensures the cookies taste sweet without adding sugar or impacting blood glucose levels.
The sweetener choice matters for both taste and nutrition. Most sugar-free sweeteners have minimal impact on blood sugar, though individual responses can vary. If you’re interested in learning more about different sweetener options, this comprehensive sweetener guide provides helpful information.
These cookies fit beautifully into a well-formulated ketogenic diet. They’re similar in nutrition to classic shortbread cookies but with the added interest of a filled center. The almond flour base provides more nutrients than coconut flour alternatives while maintaining that tender, crumbly texture.
For comparison, if you’re looking for other holiday cookie options, check out these decorated sugar cookies which have a similar carb count. Both recipes work wonderfully for cookie exchanges or holiday platters.
Common Questions About This Recipe
Over the years, I’ve received many questions about making these cookies. Below, I’ve answered the most common ones to help ensure your baking success. These tips come from both my experience and feedback from readers who’ve made them.
Can I make these cookies ahead of time?
Yes, these cookies store beautifully. Keep them in an airtight container at room temperature for up to 5 days, or refrigerate for up to 2 weeks. You can also freeze unfilled cookies for up to 3 months and add the filling after thawing and warming slightly.
Why did my cookies spread too much?
Cookies spread when the butter is too warm or the dough isn’t chilled enough. Make sure your butter is softened but not melted, and chill the dough balls for 10 minutes before baking. Also check that your oven temperature is accurate.
What’s the best sugar-free jam to use?
Look for jams sweetened with erythritol, allulose, or monk fruit. Brands like ChocZero, Lakanto, and Good Good work well. Avoid jams with maltitol as it can cause digestive issues and has a higher glycemic impact.
Can I use coconut flour instead of almond flour?
Coconut flour absorbs much more liquid than almond flour, so you cannot substitute it 1:1. If you must use coconut flour, use only 1/3 cup coconut flour and add an extra egg. The texture will be different but still tasty.
How do I prevent the filling from bubbling over?
Always add the filling after the cookies have partially baked. Bake the cookies for 10 minutes first, then add the filling and bake for just 2-3 more minutes. Don’t overfill the wells—about half a teaspoon is perfect.







Leave a Reply